Baby Announcements 101
(using photoshop cs)
(Note: If you do not own photoshop, you can download a 30 day free trial from Adobe at http://www.adobe.com/products/photoshop/photoshop/. Once your 30 day trial is over, you can simply uninstall the program, or purchase it to continue to use this awesome program!)
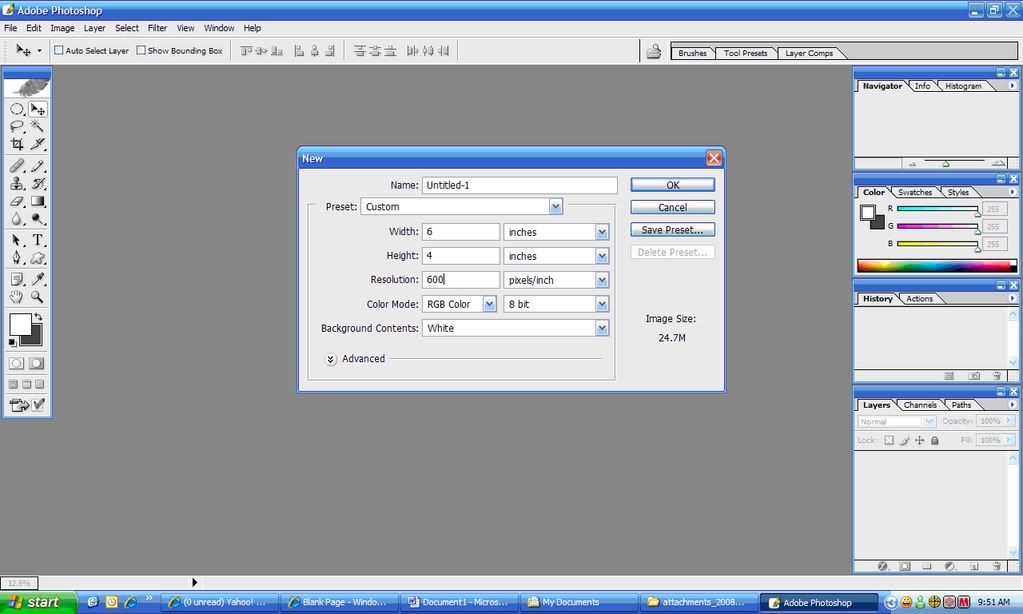
To first start, open you photoshop and create a new file, 4"x6" at 600 pixels/inch. Then use your rulers to make a 1/4" buffer around the edges.
Turn your rulers on if they aren’t already (Go to view and make sure Rulers has a check on the side). Take your mouse, click on the ruler and drag it towards your blank sheet. You will see a black hidden line, move that 1/4" on all 4 sides, when you have placed it where you want it’s a light blue color. You can keep them on, because they won’t print.
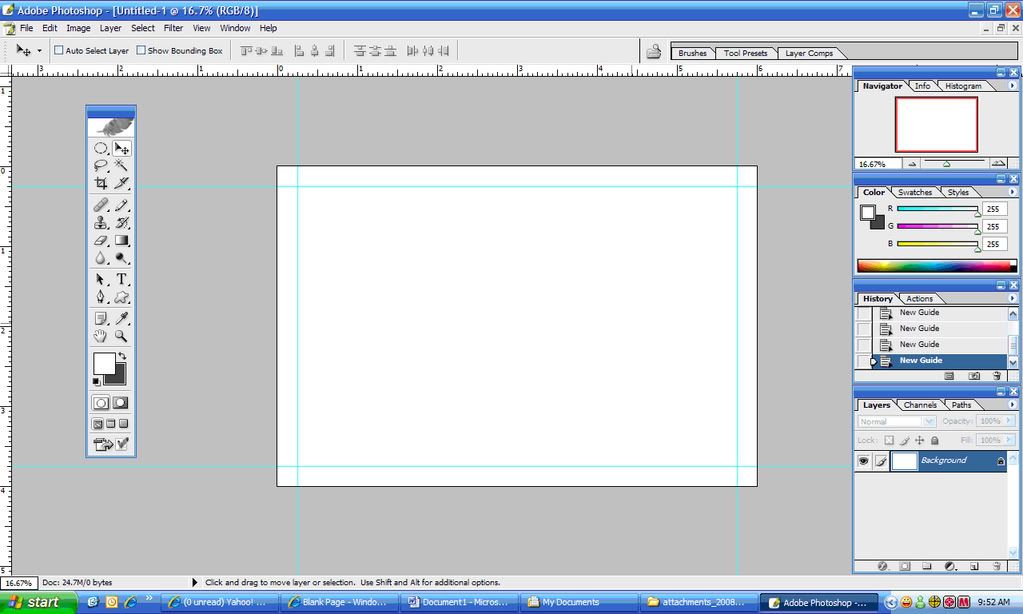
This is your working limits, you don't want to put any text or photos in here because they might be chopped off.
Next you need to pick the size of the photo you are going to use, the fonts you want, and the patterns. I like to use digital scrapbook sets, because I don't make my own backgrounds very good. There are tons of sites out there with scrapbook sets you can purchase, but there are some awesome freebies too. You just gotta search for them. My favorite site is: http://www.shabbyprincess.com/ They have beautiful stuff there!
If you want to design your own patterns, you can do that too, just depending on what you want, lines, or circles, or whatever, however I’ll show you how to do it with an existing pattern.
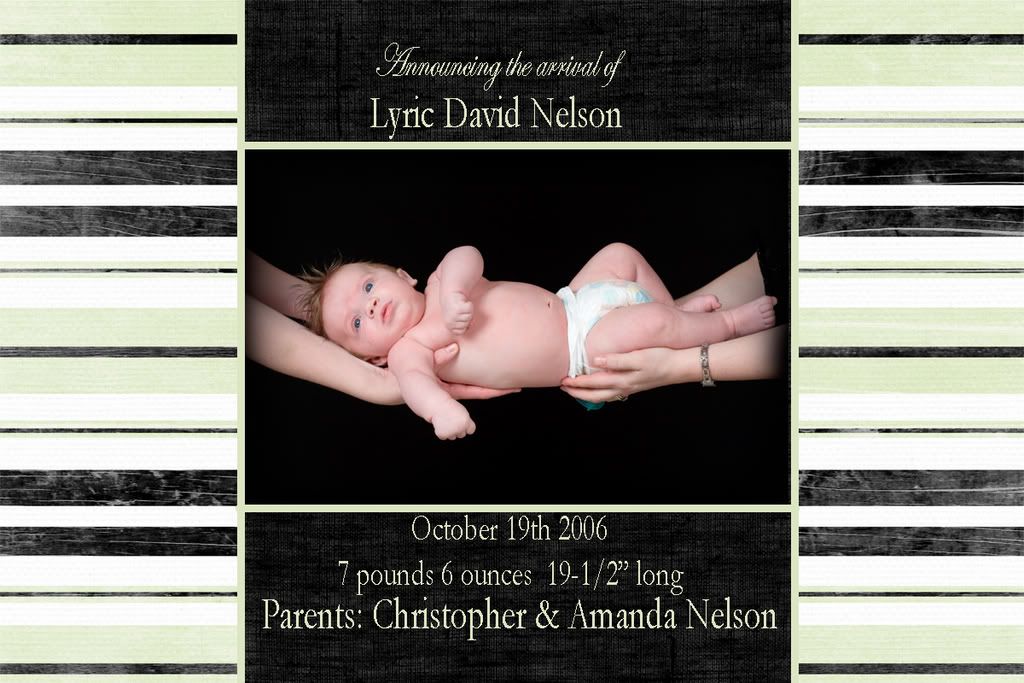
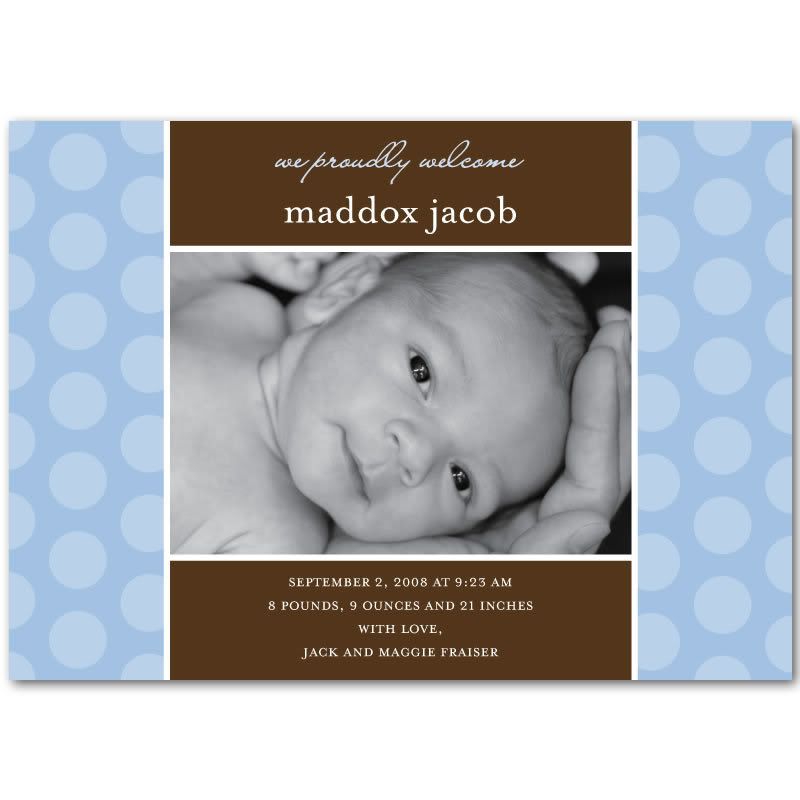
I have decided to use Shabbyprincess URBAN KIWI kit and match this style of announcement. This announcement was found as an example off the internet. (I can’t seem to find the link but will post it as soon as I can!)
The first paper I’m going to use is the one called ShabbyP_Kiwi_StripedPaper. Open it up in Photoshop, and drag in onto your blank announcement.
If you want to resize it, make sure that layer is current (it’s layer 1) and Ctrl-T. Use your Shift key when dragging at the corners if you want to keep it proportioned. If the stripes are too big, and you want them smaller use this command. Of course if it’s too small, you might have to do duplicate layers of the stripes to cover your announcement. I’m going to keep this simple and keep it at the size it is.
Next pick your photo. I’m going to use a photo my friend Katie took of my nephew.
Open you photo you are using in Photoshop and drag it onto your announcement and scale it using Ctrl-T. Make sure to use the Shift key when sizing it so it stays in proportion.
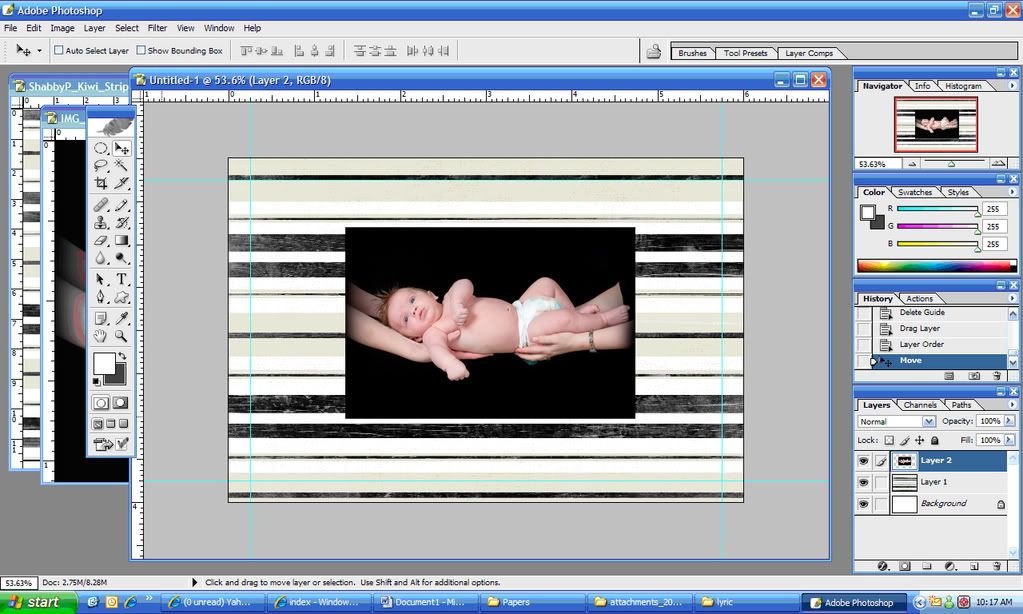
Make sure to keep saving your work.
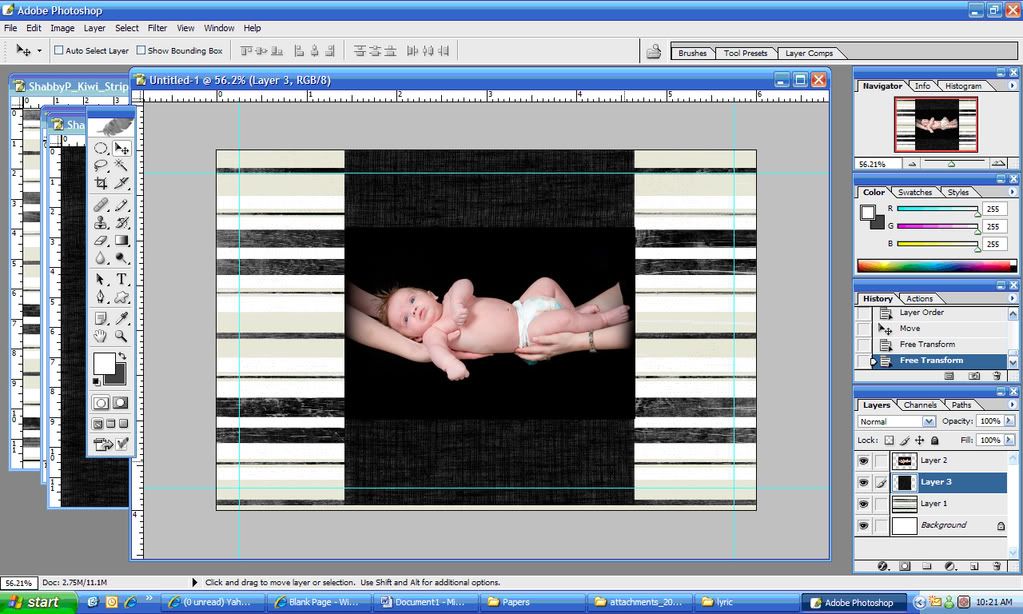
Okay, next I’m going to use ShabbyP_Kiwi_BlackLinenPaper for the brown area. Open it up, drag it onto your announcement. You’ll have to use Ctrl-T to scale it down at the corners and sizes so it lines up with the photo.
If you want the white lines that are framing the photo make your foreground color the color you want.
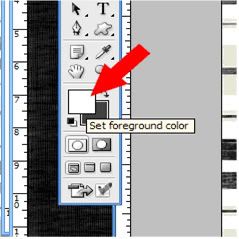
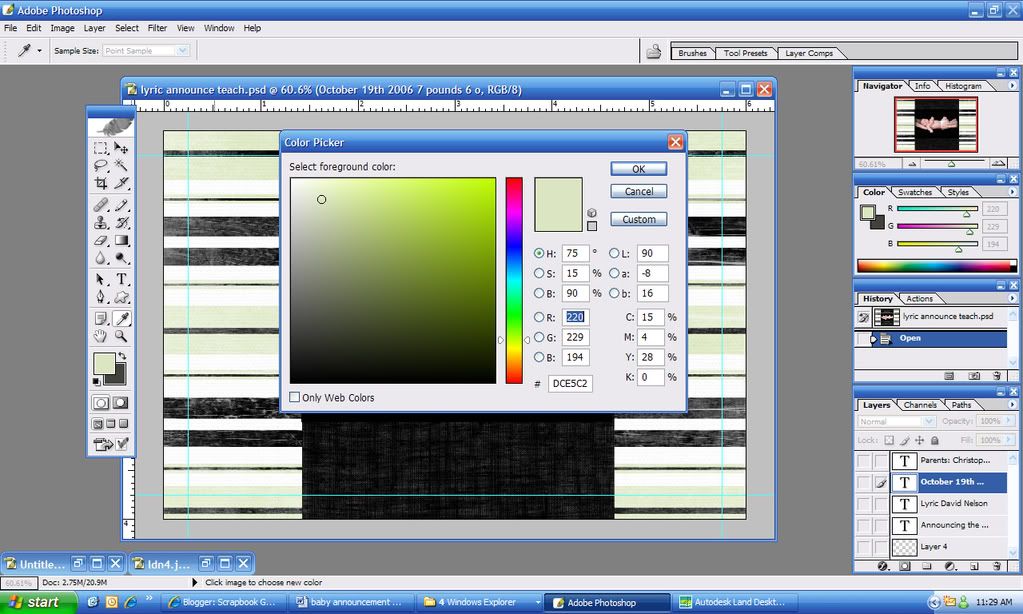
I chose to use a green that matched the patterned paper, so click on the foreground color and then when the color swatch pops up click somewhere on the green patterned paper and it will pick it up.
There are a few ways to make the border. You can do a line, or a rectangle that is a little bit bigger than your photo and put it behind it (layering). We’ll stick with lines for this announcement.
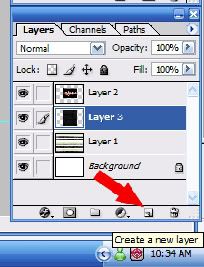
First create a new layer that your lines will be on and make it your current layer by clicking on it.
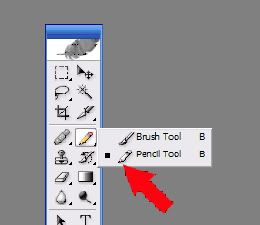
Use your pencil tool and change the size to 9
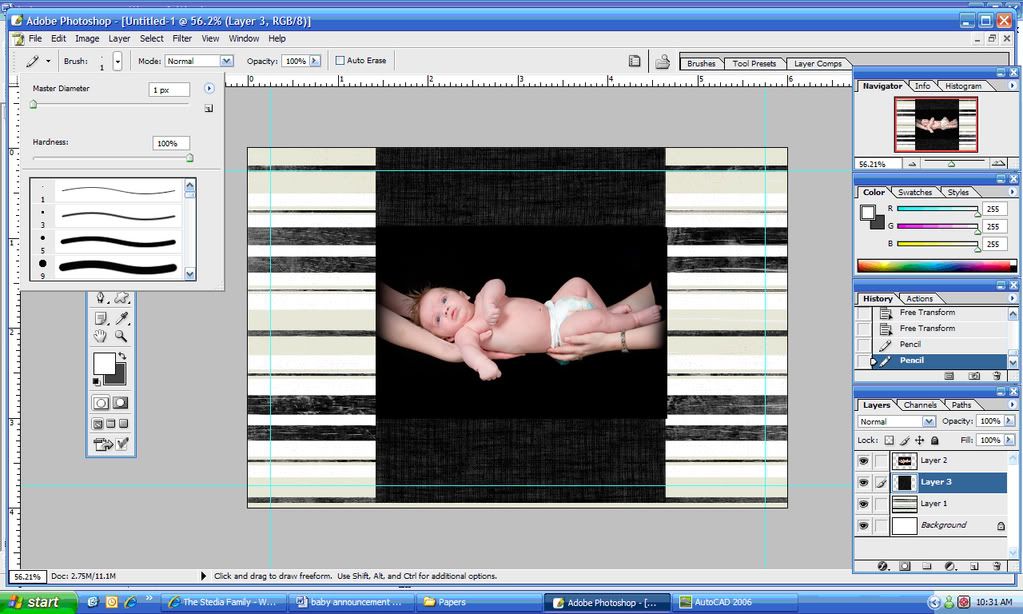
Then draw your lines. To keep your line perfectly straight hold your Shift key down while drawing it. This might take a little practice, and you can always undo your last command.
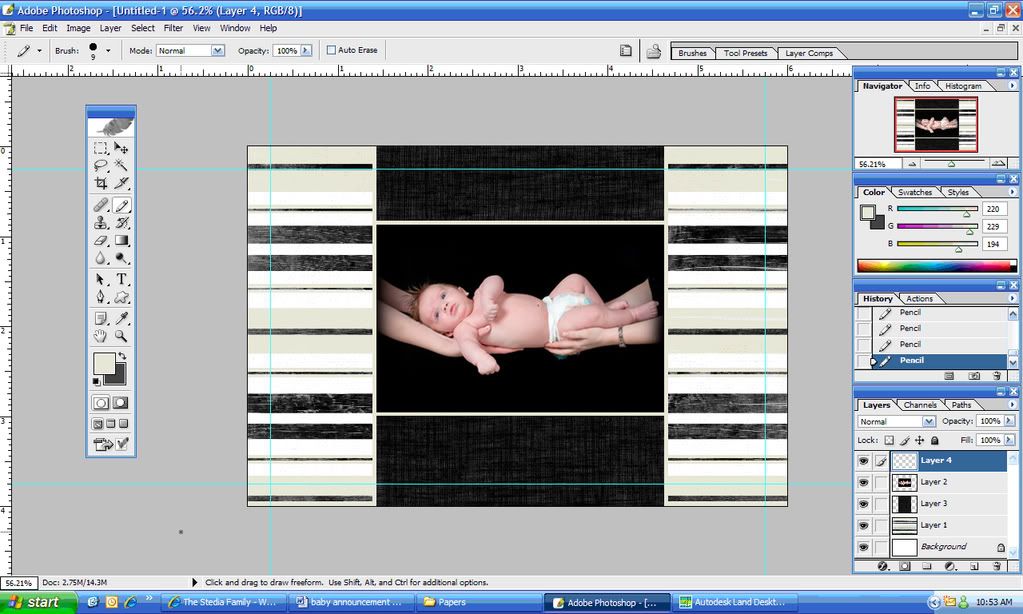
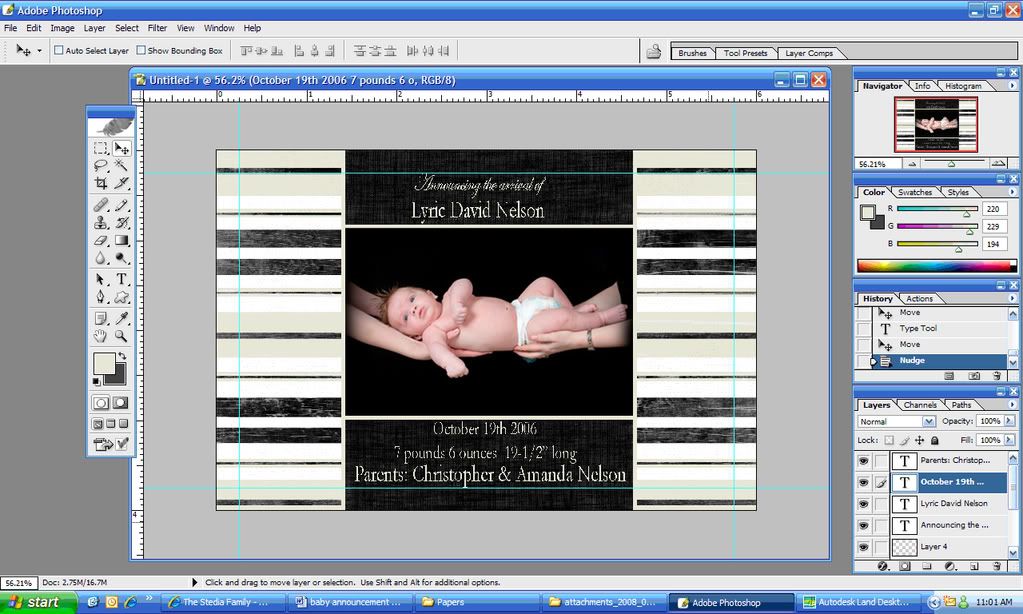
Your announcement should look like this now:
If you don’t like the border, you can change the color, the thickness or style of the line and redo it.
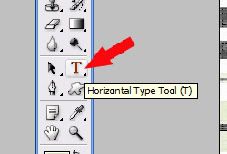
Now the text. Pick on the text tool. We’re going to keep the color the light green since it’s on the black.
Now pick your font. You can use several fonts, or just one. Make sure you stay inside the blue lines.
And you’re done! Save it. Then save it as a .jpg file (quality at max – 12). Burn it to a CD and take it to your local photo print shop and print one to see if you like it. Then print as many as you need and mail out to your friends and family.
I think this is a great inexpensive way to create announcements. You can print them on 4"x6" photos (19 cents at piece @ Wal-Mart!) and they look professionally done (at least I think so) lol!
Hope that helps! Good luck!
jen :)